Flashforge has just released it's newest printer the Flashforge Adventurer 4 Pro, and today we're going to be comparing the differences between this printer and its predecessor the Flashforge Adventurer 4, in hopes that it will help you in deciding whether or not it is worth upgrading to this new printer!
There's 5 Main Differences
- A new build plate
- 30 point auto bed levelling
- an upgraded fan structure
- an upgraded xy axis structure
- and two new nozzles
New Build Plate
The Adventurer 4 featured a magnetic flexible build plate with textured build tape on top of it. For the Adventurer 4 Pro, Flashforge has decided to swap out the magnetic flexible build plate and upgrade it to a magnetic double sided build plate. One side has a PEI coating for printing PLA, ABS and CF composites and the other side is uncoated steel for printing PETG.
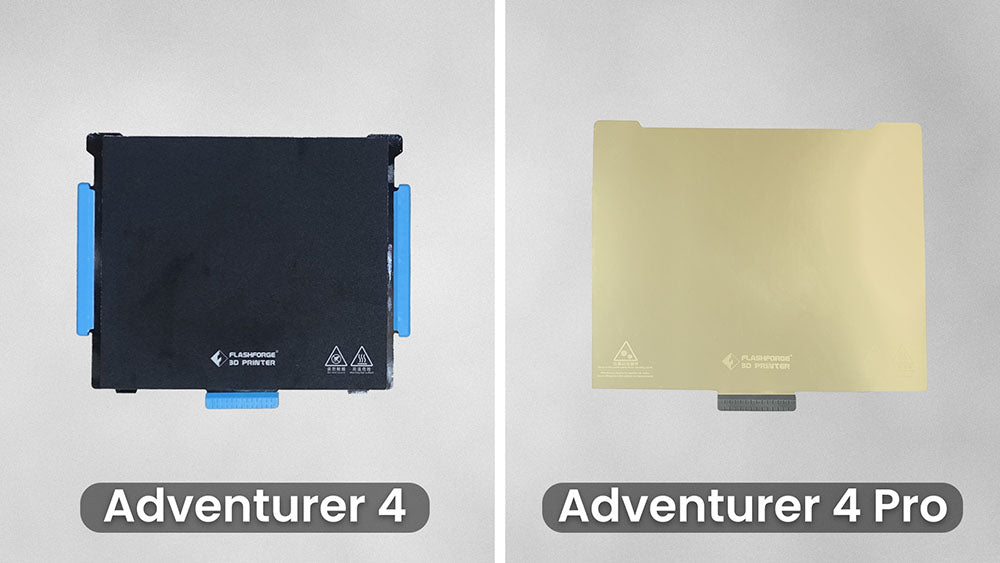
PEI coated plates have strong bed adhesion, so this upgrade should help your prints stick to the bed better and remove the use of rafts completely. It will also help prevent the first layer from warping and give the bottom of your prints a nice smooth finish.
30 Point Auto Bed Levelling
To level the Adventurer 4 you had to first, set the nozzle height then manually level nine points on the bed. Flashforge has upgraded this on the Adventurer 4 Pro to an auto 30 point bed level. All you need to do is set the nozzle height and the printer will then automatically level the bed.
This is a great upgrade as bed levelling should now be more precise resulting in an improved first layer and it's also less hassle for the user.
Upgraded Fan Structure
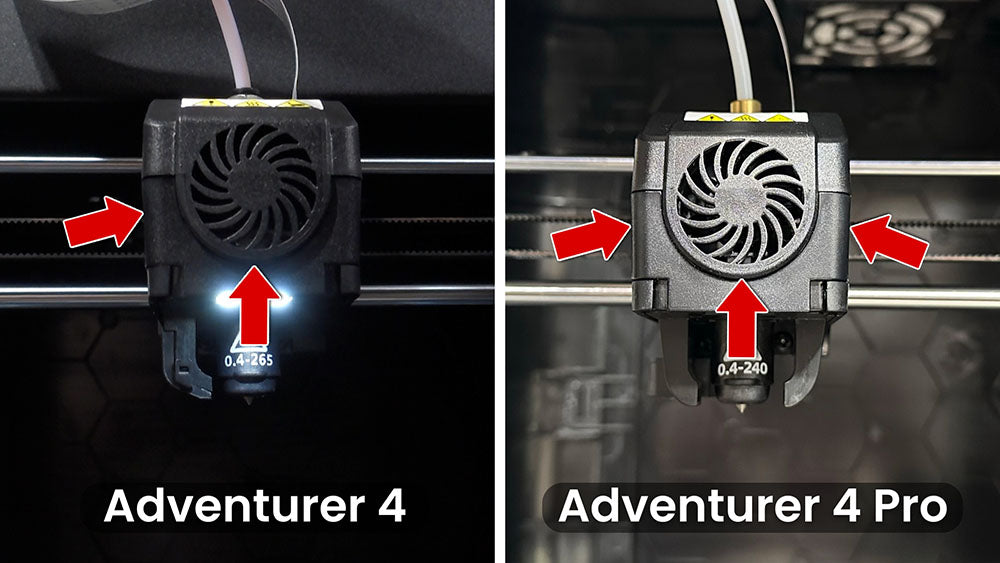
The Fan structure has been upgraded from a 2 fan structure on the Adventurer 4 to a 3 fan on the Adventurer 4 Pro. This upgrade accelerates the cooling speed, allowing the machine to print faster and reduces model warping.
Upgraded XY Axis Structure
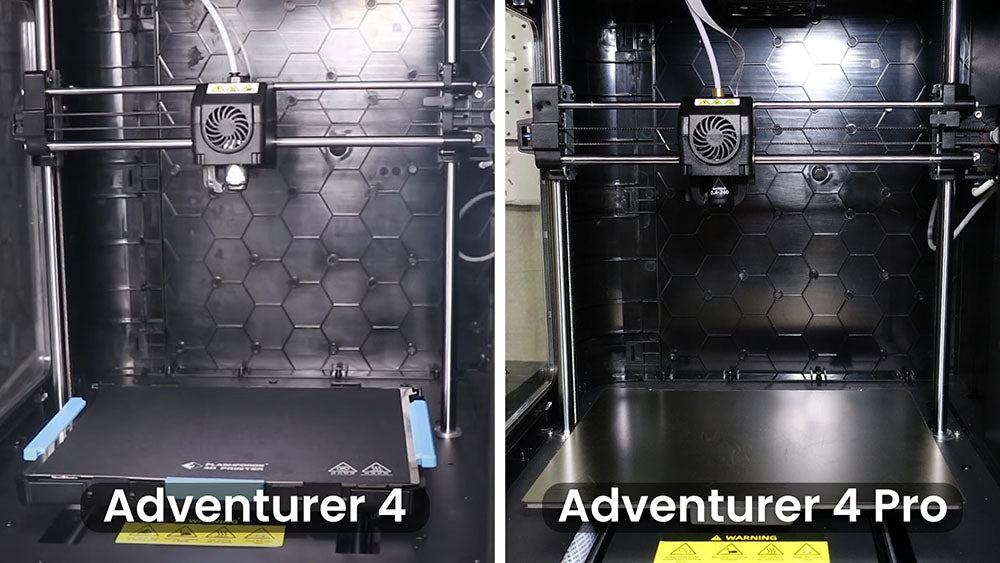
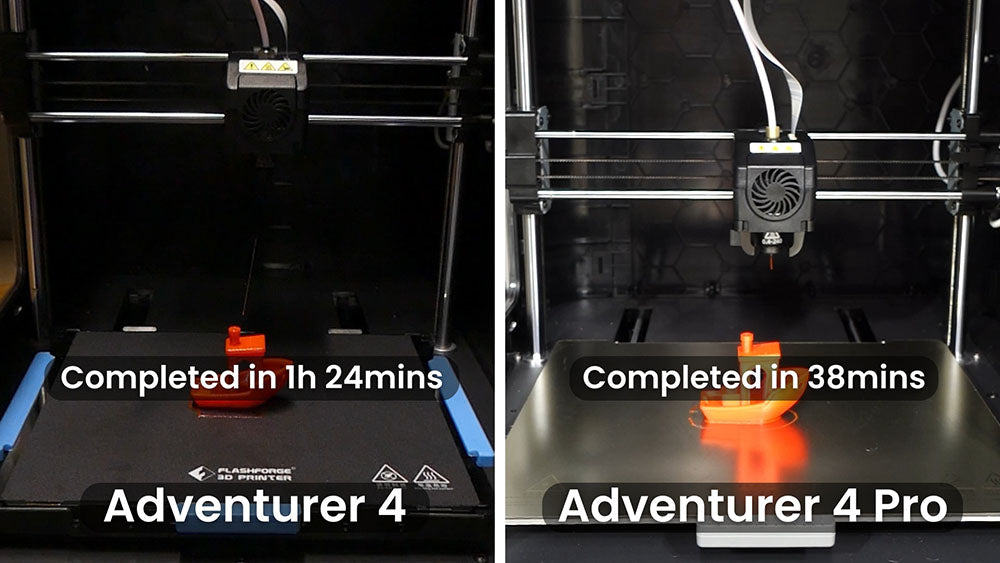
Now I can't personally see a lot of difference here, however Flashforge has stated that it has upgraded the XY Axis structure on the Adventurer 4 Pro. This upgrade allows the machine to print a lot faster than the Adventurer 4 and with the addition of one of the two new nozzles Flashforge claims it can print up to 4x Faster!
Two New Nozzles
The Adventurer 4 comes with the standard 0.4mm 240 degree nozzle as well as a 0.4mm 265 degree nozzle for printing higher temp filaments like PETG.
With the Adventurer 4 Pro, Flashforge has released 2 new nozzles;
- A 0.4mm 240 degree high speed copper nozzle
- and a 0.6mm 265 degree high strength or hardened nozzle.

The high speed copper nozzle paired with the upgraded XY Axis structure of the Adventurer 4 Pro allows the machine to print at 200mm/s by default, but also increases its max print speed to 300mm/s!
The high strength or hardened nozzle, is essentially an upgraded 0.6mm 265 degree nozzle which allows the Adventurer 4 Pro to print PLA-CF and PETG-CF without damaging the nozzle. The original 0.6mm 265 degree nozzle was not hardened and over time would wear with higher abrasion due to the fibers inside CF filaments.
The High Strength nozzle is compatible with all printers from the Adventurer series however, the High Speed nozzle is only compatible with the Adventurer 4, Adventurer 4 Pro and the Adventurer 3 Pro V2.
Print Comparison
Final Thoughts
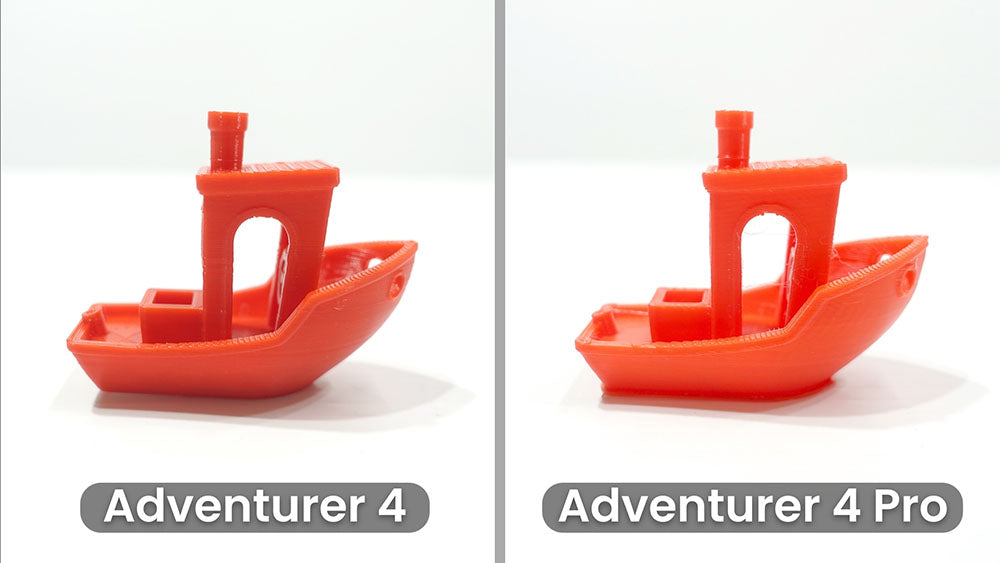
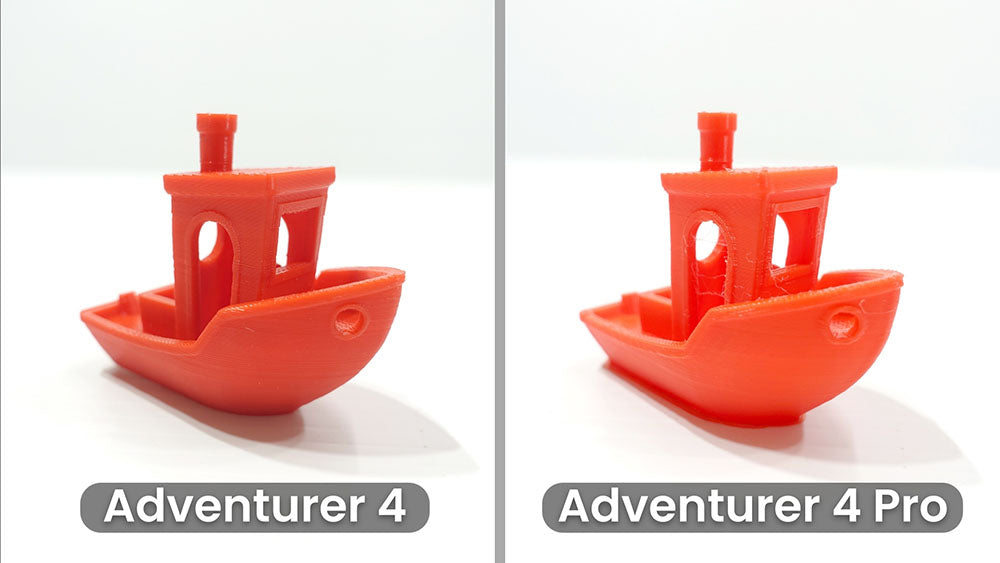
The Adventurer 4 Pro maintains its wide range of filament compatibility with improved compatibility of carbon fiber filaments, making it an excellent all-round 3D printer for both beginners and professionals. It is easier to set up, prints much faster with no compromise on quality and costs no more than the Adventurer 4. In my opinion it is the printer of choice and worth purchasing for schools and businesses where ease of use, print speed and quality are paramount.
Watch the Videos!
|
Check out our first impressions video on our youtube channel here. |
Check out our comparison video on our youtube channel here. |


